

We’ve all had a moment where we’ve gone to throw on our favourite top, skirt, or dress when all of a sudden a key button has decided to pop off and retire from its position. If you’ve quickly put the garment to the side and have pushed off repairing it, then this is the article to push you to do it!

Knowing how to do small mends helps your clothes last significantly longer which is better for the planet and it gives you a fantastic sense of achievement when it comes to caring for your style too.
This article is about how to sew on a button if you’re not sure how to re-sew flat or shank style buttons. Another common issue you may find in clothing wear is broken zippers, if this happens in the first three months with an Origami Doll dress you can send it back to us for us to repair for you, but otherwise you can learn how to do it yourself with a zipper foot attachment or send it to your local tailor.
For this mending project you will need:

A needle, thread, scissors, and buttons. Optional: wax (dragging your thread through this will help with stronger stitches), a needle threader, and a thimble.
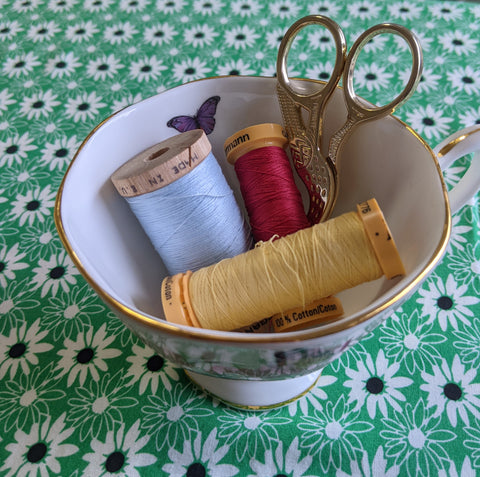
As far as threads go, try and find one that is a match to your fabric. It’s always better to go slightly darker than slightly lighter if you want the thread to be unnoticed, but don’t be afraid to experiment or use what you have on hand! As a general rule of thumb the advice is to have the fibre of your thread match the fabric, so polyester thread for polyester clothes or cotton for cotton, but particularly for small mends like these I tend to gravitate towards cotton due to its plastic free nature. If you’re interested in a totally plastic free option, Scanfil does a range of colours on wooden spools, but if you’re looking for a greater colour range or something easier to pick up, I can’t recommend Gütermann enough!
The first step in re-sewing a button is to figure out the placement. I usually find that if it’s only one button that’s missing you can eyeball it according to where the buttonhole will sit when the rest of the garment is buttoned up. Another trick is to look for the puncture marks or leftover threads on the fabric and try to match the old holes of the garment.

Most of the buttons we use at Origami Doll are fabric covered shank buttons that match the print of the dress, once you get the hang of it these can be a lot more forgiving to sew because misplaced stitches won’t be seen from the other side.
Cut a length of thread no longer than your forearm to avoid needless mess. Thread your needle and tie a knot in the opposite end. You might have to layer up the knot a few times so that it’s thick enough to not just be pulled through the other end while you’re sewing! Pull your needle up from the back end of the fabric so the knot is on the side that won’t be seen and then thread your shank onto the needle.

Then thread down just beside where you last stitched so the needle is anchored.
Loop back around to your first puncture and pull your needle through the hole. Then go through the hole in the shank and go back down again. Repeat until you feel satisfied that the button will stay put.
Now pull your needle up so that it is on the right side of the fabric again (the side facing outwards) and instead of threading it through the button again, loop around the threads around the button three times. Stitch through these top threads to create a knot. To be extra insured you can then sew through to the back of the fabric again and tie a knot through the fabric there as well.

And A ta-da!~ You’ve just reattached a shank button!
The process for flat buttons with visible holes is very similar, only you’ve got to thread through usually twice the holes on the button and need to be a little more cautious as your stitches are more visible.


If you’ve left your button repair pile build up for a while, you may have lost the original button that fell off. In this eventuality, most Origami Doll clothing will have a button sewn to the tag in the lower part of the garment. Otherwise you could go for a more visible and playful mend with a mismatched button, or replace them all with a new sew! Try find some fantastic vintage or secondhand buttons at The Sewing Basket in Sydney or visit your local sewing shop. Aim to find buttons of a similar width to the ones already on the garment.
And there you have it! Even in just knowing how to re-sew a button you’ve opened the way to the foundations of altering your clothes too! If the fit is JUST too tight or too large, try removing the buttons and re sewing them a smirdgen to the left or right. If it’s a very slight mis-size you may be able to solve it just doing this!
Happy Sewing,
Calina